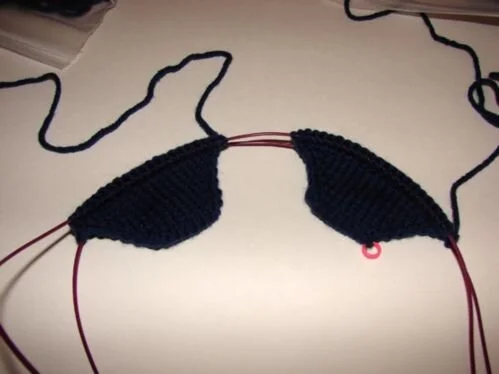
The Toes
Step three
Flip your work over so you're ready to knit the next side.
Now you've knit back around to your stitch marker. This marks the end of the round, where you have knit completely around both socks. You can leave this marker just where it is until you're totally finished with your socks. If you don't like that idea, you can move it up from time to time, but just make sure you leave it on the same side of the sock.
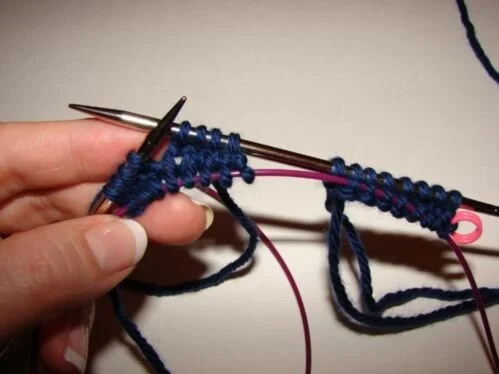
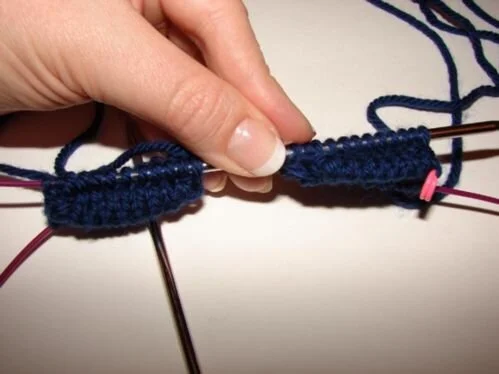
You have two sets of stitches, which are the very tips of the toes. The set with the stitch marker is "Sock A", the other set is "Sock B".
Now begin knitting, starting with sock A. Note, all stitches are positioned correctly and you do not have to knit into the back loop anymore.
Knit one complete round. This means knitting 8 stitches on sock A, drop the working yarn, slide the needles to prepare to knit the next set, 8 stitches for sock B.
Knit 8 stitches on the sock B with the appropriate working yarn. ALWAYS remember to switch which ball of yarn you work from as you move from one sock to the next or else you'll end up with some weird doubled super size sock thingy.
Flip the work over and adjust your needles to begin knitting side 2 of Sock B. Knit both sets of stitches using the appropriate working yarn.
You should now be back to the stitch marker, and it's time to begin the toe increases. You may be wondering how these little strips of knitting are going to come together to make the toes. Shouldn't it start looking like a little pocket? Trust me, it will happen before your eyes with hardly any effort (because you took my advice and are using needles with a thin cable.) Just continue with the directions... you'll see.
Round 1:
Knit the first stitch through the front and back loop to make a new stitch.
Knit to the last 2 stitches (on sock A).
Knit through the front and back loop of the next stitch.
Knit one more stitch.
Knitting through the front of the stitch, like a normal knit stitch, but do not slip it off.
Knit through the back of the same stitch, and then slip it off.
Which makes 1 new stitch
Knit into front and back of the next to last stitch too, and then knit the last stitch.
Repeat this step for Sock B, then flip your work. Repeat this increase set for the second side of Sock B, then Sock A.
Round 2:
Knit all stitches on all 4 sides.
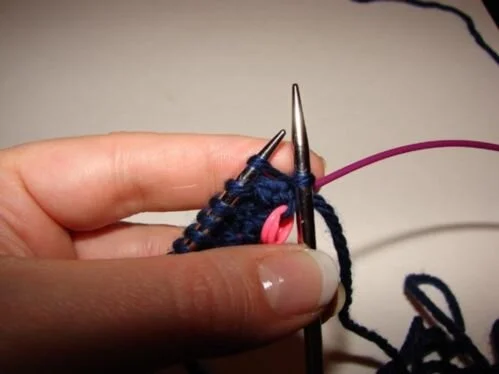
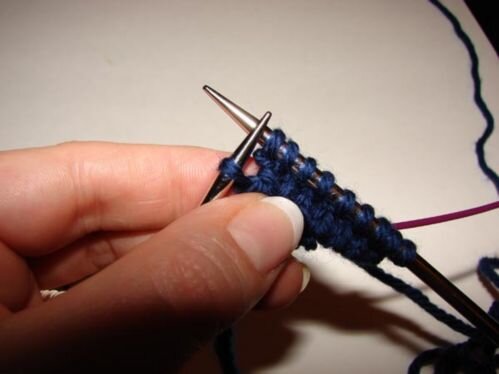
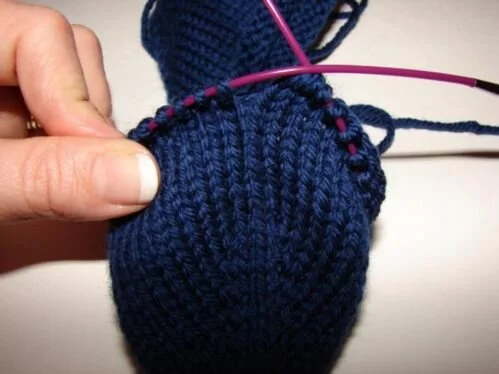
After the next round, you'll start to see the toes begin to develop their shape. At this point, your needles are no longer on top and bottom. They become front and back. ALWAYS knit on the FRONT needle. The back row will be on a cable, the front row will be on a needle. Always knit with the stockinette side (the side with the little Vs, not bumps) facing you on the front needle.
With each new side, the working yarn will come from the right side of the stitches on the cable in back.
NOTE: Now is a good time to check your balls of yarn and untwist them, as knitting with 2 balls at a time WILL twist up your yarn. (You can eliminate this twisting by turning your work one way, work a row, then turn your work the other way when you flip it to knit the next side... back and forth.)
Put the needles down, and by holding the balls of yarn, untwist the yarn. Take your time. This is pretty much the only negative point to knitting 2 socks at one time but some will argue that it's hardly a negative. (I'll keep my own opinions to myself here.)
You should untwist your yarn periodically and frequently throughout knitting your socks. Don't say I didn't warn you!
Repeat Rounds 1 & 2. Increasing on round 1, knitting all stitches on round 2, until there are 22 stitches per side, or 44 stitches per sock (88 stitches total).
As you finish the toe increases, you can tuck the cast on tail into the toes just to keep it out of your way. You'll come back and weave in the tail when you're all finished. If you are comfortable with doing that now, by all means.
After all of the toe increases, knit all stitches around and around until the length from toe to needles is 2 inches less than the length of the intended foot. Again, be sure to remember to switch the ball of yarn you're working with before knitting the next sock. And take time to untwist your yarn!!
One of the BIG positives to knitting socks on a magic loop (or 2 circulars) is the chance of laddering is greatly reduced. When you start knitting a new side, one stitch is on the needle and the previous stitch is on a thin cable. As you knit the next stitch, the previous stitch is tightened around the cable. This eliminates the slack that can happen between two double pointed needles which results in laddering.
See? NO ladders!
Note: As you are turning your needles around or sliding your needle/cable here and there, keep in mind that you do not have to keep the two socks far apart. I like to keep them very close together, with about an inch between them, because I can hold them both with one hand while I arrange the needles and/or balls of yarn with the other hand.
Also, if you find that you've let the loop of cable go and one sock is all the way at the end of your needle, you can pull the cable loop back out by dividing the number of stitches in half, in this case, 22 stitches.


