The Cuff
Step Six
At this point you should have knitted the heels on both socks and have untwisted your yarn. (Do you keep forgetting?) Adjust your needles so you are ready to knit the front side of Sock A.
Before we begin the cuff, I am adding an extra step to avoid a hole where the two sides come together at the ankle.
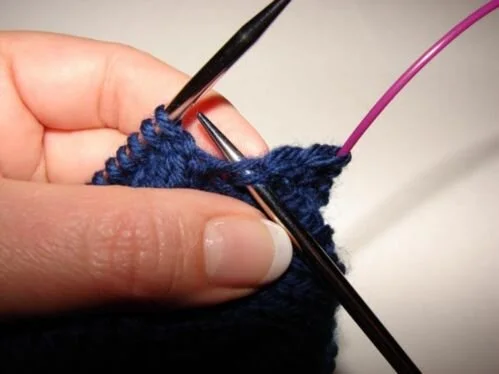
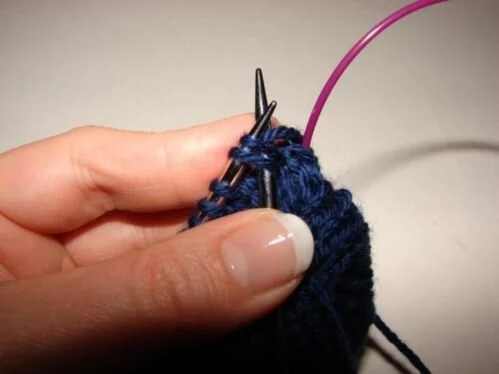
Insert your needle into the little section between the needle and cable under one stitch... somewhere in the middle, it doesn't have to be exact, so don't stress over it.
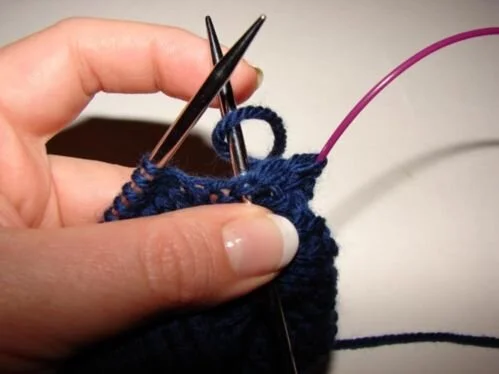
Wrap the yarn around the needle and bring it through to pick up a stitch.
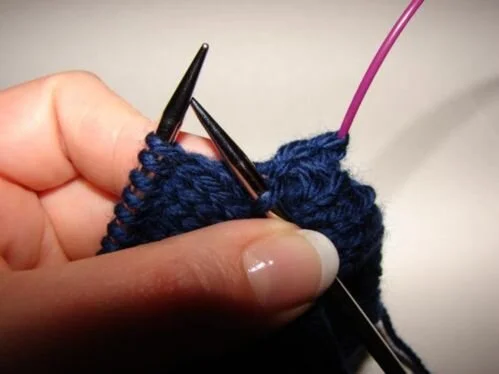
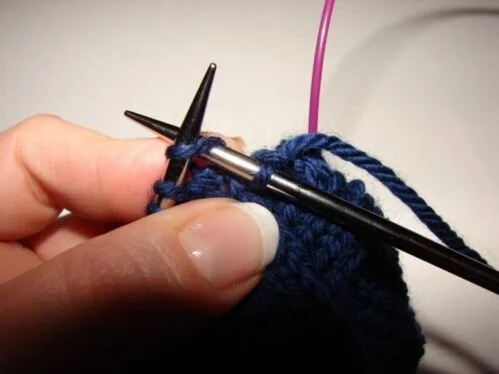
Put this stitch on the left needle,
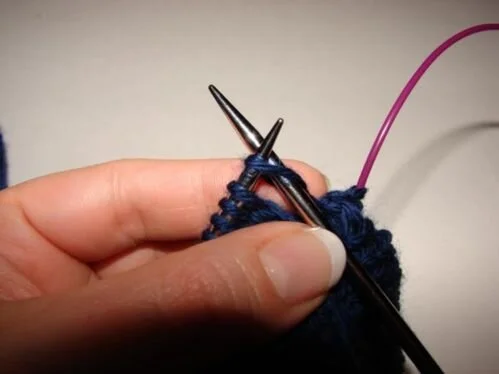
And knit it together with the first stitch. Pull the yarn nice and snug here to bring the two sides together.
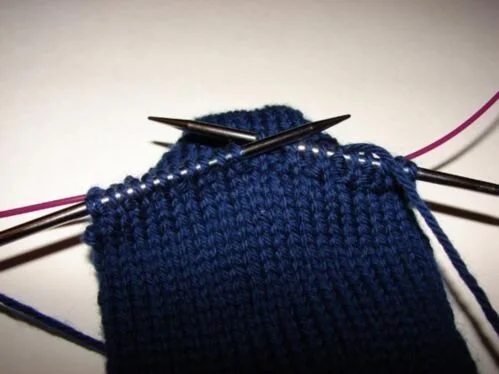
Continue and knit across Sock A.
Before beginning Sock B, pick up another stitch and knit it with the first stitch on the needle just as you did for Sock A.
Turn your work and do the same for the back sides of both Sock B and A. Picking up a stitch at each ankle side and knitting it with the first stitch on the next needle.
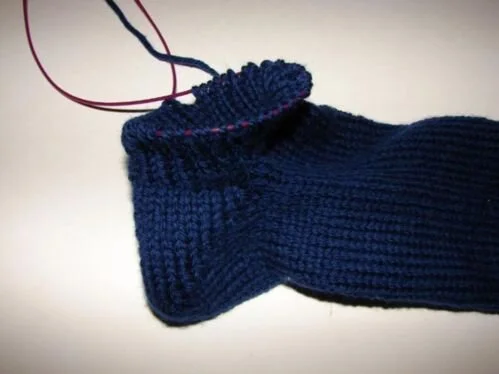
Knit 2 to 4 rounds even on both socks before beginning your ribbing for the cuff. 2 rounds, 3 rounds, 4... whatever you feel like. Doesn't matter much.
Knit a K1/P1 ribbing (knit one, purl one) for however long you want the socks.
(More advanced knitters can get creative on the cuff portion and knit a pattern stitch, cables, whatever you want.)
A great thing about knitting toe-up socks, is you can try on your sock and decide just when to stop the cuff.
Want no-show socks? Knit just an inch in rib.
Want ankle socks? Knit a little more. Or if you want to go for broke and knit as much as you can, sit back and enjoy the monotony of ribbing! (Yes, that's sarcasm.) These socks are for my husband, who wanted them to be over-the-calf socks. That was a lot of ribbing.
Don't forget to untwist your yarn periodically and frequently! When you have knit them as long as you want, make sure you complete the round by checking the location of your stitch marker.
Now, it's time to bind off...
