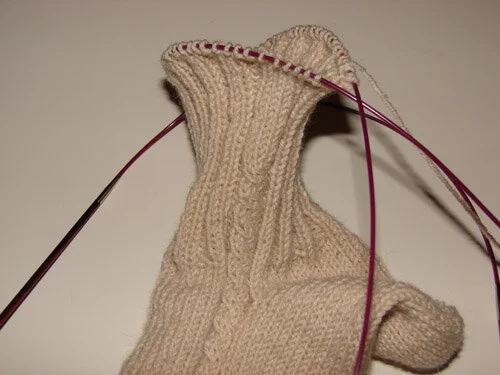
The Cuff
Step Seven
If you're knitting contrasting heels and toes, switch back to your main color now.
Knit across the top needle (across the top of the foot, or instep). Remember to stay in pattern if you're knitting something fancy on the top of your foot.
When you come to the end and are ready to knit across the heel stitches, you may notice a significant gap a this side. In order to close up this gap, I like to pick up a stitch anywhere along the gap, and knit it together with the first heel stitch.
This tiny little step will close up that gap and prevent the dreaded ankle hole!
Knit across the heel stitches.
Continue knitting in the round (keeping in pattern on the top of the foot) for 4 or 5 rounds before beginning the cuff ribbing. This elongates the heel and instep portion just a bit for a more comfortable fit.
If you would like to knit long socks, continue knitting around in pattern until you decide it's time to start the ribbing. I usually knit ribbing at the top 1-3 inches of the sock.
For these, I’m going to knit a short ankle sock, with a thick double sided ribbed cuff.
Begin your ribbing on the front side of the sock. I chose a K2P2 ribbing and worked it so that my cables still fit in the ribbing.
Continue knitting the ribbing around until it's as long as you want, or follow me for a nice double cuff.
I continued my ribbing for 3 inches. After 1.5 inches, I stopped knitting the cables. This second half of the cuff will be turned in and only show on the inside of the sock.


